Article

Creating a Customer Journey in Mailchimp

31 January 2024

Creating a customer journey in Mailchimp

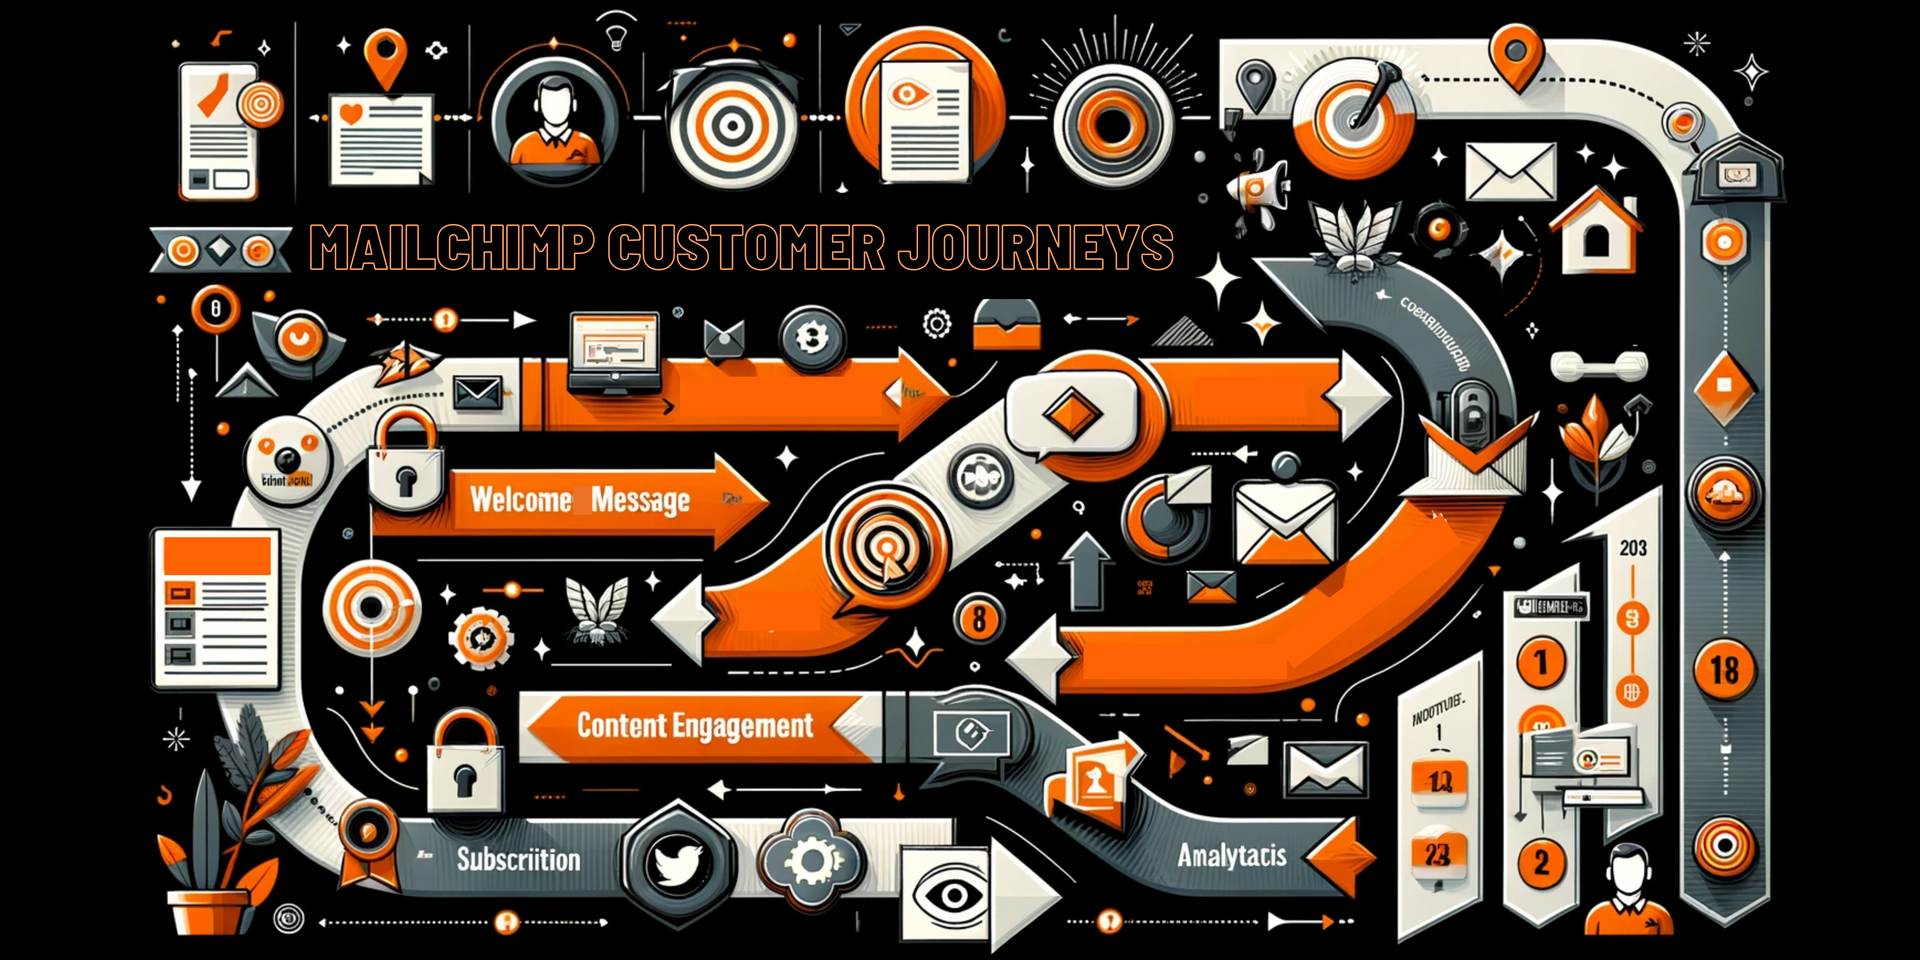
Creating a customer journey in Mailchimp involves many steps including setting up a sequence of automated actions and communications triggered by specific customer behaviors or milestones.


Here's a general outline of how you can set up a customer journey in Mailchimp for when a new subscriber is added to an audience:


  1. Understand Your Audience and Objectives: Before creating a customer journey, you'll want to identify who your audience is and what you want to achieve. For new subscribers, your objective might be to welcome them, provide valuable information, and encourage initial engagement. Once you're clear on this, you can get started.


  1. Access the Customer Journey Feature in Mailchimp:
  • Log in to your Mailchimp account.
  • Go to the "Automations" page.
  • Select "Customer Journey."


  1. Create a New Journey:
  • Click on “Create Journey” or select a pre-built journey template that suits your needs.
  • Choose a name for your journey that is descriptive and easy to remember.


  1. Define the Starting Point:
  • The starting point for your journey is the event that triggers the journey. In this case, select “Joins Audience” or a similar trigger that activates when a new subscriber is added to your list.


  1. Map Out the Journey:
  • Design the steps or stages of your journey. This can include sending a welcome email, providing informational content, offering a discount, asking for feedback, etc.
  • Use conditional branching to personalize the journey based on subscriber actions (e.g., if they open an email or click a specific link).


Create the Emails and Actions:

For each step in the journey, create the content and define the actions. This could be an automated email, a tag assignment, or other actions available in Mailchimp.

Ensure that your emails are well-designed, engaging, and relevant to the new subscriber.


Set Timing and Delays:

Decide how much time should pass between each step in the journey. Immediate sending might be suitable for a welcome email, but subsequent emails might have delays.


Test the Journey:

Before activating your journey, it's crucial to test it to ensure everything works as expected. You can use test emails or a small segment of your audience for this purpose.


Launch and Monitor:

Once you’re satisfied with the setup, launch the journey.

Regularly monitor its performance through Mailchimp’s analytics to understand how subscribers are engaging with your emails. This data can help you refine and improve the journey over time.


Iterate and Optimise:

Use the insights gathered from your analytics to make adjustments to your journey. This could involve changing the content, timing, or branching logic.


Remember, the key to a successful customer journey is personalization and relevance. Make sure your communications are tailored to the interests and behaviors of your new subscribers to foster engagement and loyalty.


Good marketing is should always work to evoke some kind of emotion from your target audience. Once you have your journeys set up, and you're lead generation campaigns integrated into them, you have the opportunity to test emails and remarketing creatives to understand what best resonates with your target audience.


Written by Patrick McKenna -

https://www.linkedin.com/in/google-ads-manager-for-hire/

share this

Related Articles

Related Articles

by Patrick McKenna 6 May 2025
Add Structured Data (Schema Markup) To Your Website To Show Google Reviews On Google
by Patrick McKenna 6 May 2025
How to Make Your Google Reviews Show Up in Search: A Guide for Toy Companies If you run a toy company and want your stellar customer reviews to appear when people Google your business, you're not alone. Google reviews are a key part of building trust, improving visibility, and converting browsers into buyers. But simply collecting reviews isn't enough — you need to make sure they show up where it counts. Here's how to do just that, with specific steps and real examples for toy businesses. 1. Claim and Optimise Your Google Business Profile The foundation of showing up in Google search is a Google Business Profile (GBP) . If you haven’t already, claim your profile here. Example: Imagine you own "Rosie & Bloom Toys," a boutique toy company based in Cork. You should: Verify your GBP through postcard or phone. Add a detailed description: "Rosie & Bloom Toys offers high-quality, eco-friendly wooden toys for imaginative play, serving families in Cork and beyond." Upload photos of your storefront, team, best-selling toys, and packaging. Add categories like "Toy Store," "Children's Gifts," or "Educational Toys." 2. Consistently Collect Real Customer Reviews Encourage happy customers to leave reviews by giving them a direct link. Google favors recent and consistent reviews. Example: After a customer buys a handmade baby rattle from your website, include a friendly email follow-up: Hi Sarah, Thanks for choosing Rosie & Bloom! If you and baby Ella are loving the rattle, we'd be so grateful if you'd leave us a quick Google review. It only takes 30 seconds! Leave a Review Tip: Find your Place ID here: Google Place ID Finder 3. Embed Google Reviews on Your Website Display your reviews on your homepage or product pages to build trust and boost SEO. How: Use tools like Elfsight or Trustindex to embed a Google Reviews widget. Choose a layout that fits your brand aesthetic. Example: On the Rosie & Bloom homepage, a widget shows: "Absolutely love the stacking blocks from Rosie & Bloom. Gorgeous packaging and fast delivery!" — Jane M. 4. Add Structured Data (Schema Markup) If you show reviews on your website, using schema markup (a type of code) helps Google understand and display them in search results. How: Ask your developer to add "Review" or "Product" schema to pages with reviews. Or use plugins like Schema Pro (for WordPress). Read our blog on how to set up schema data on your website . Example: If your product page for a wooden train set includes review stars, schema can help Google show this in search: Rosie & Bloom Wooden Train Set ★★★★★ (45 reviews) 5. Keep Your Business Info Consistent Everywhere Google uses data from across the internet to verify your business. Make sure your Name, Address, and Phone number (NAP) are identical across all listings. Example: Google Business Profile: Rosie & Bloom Toys, 45 Main St, Cork, +353 21 123 4567 Website footer: Same info Social media bios: Same info Other directories (Yelp, Golden Pages, etc.): Same info 6. Post Regularly to Your Google Business Profile Use the "Updates" feature in your GBP to post photos, product highlights, offers, or events. Active profiles often rank better. Example Posts: "New in: Montessori-inspired puzzles perfect for ages 2+!" "Join us for our in-store Storytime Saturday!" 7. Improve Local SEO to Boost Visibility Optimise your website with local keywords and build backlinks. How: Use keywords like "eco-friendly toys in Cork" or "best wooden toys Ireland" List your business in local directories and parenting blogs. Example: Write a blog post titled "Top 5 Gifts for Toddlers That Aren't Plastic" and mention your products with links.
by Patrick McKenna 5 May 2025
Overview: This step-by-step guide is for Australian business owners who already have a personal Facebook account and want to create a Meta (Facebook) Ads account for their business. We will walk through creating a Facebook Business Page, optimizing it with best practices, linking an Instagram business account, and setting up Meta Ads Manager. We’ll also explain how Meta’s Business Manager (now part of the Meta Business Suite) can link all your accounts in one place. Follow these steps to get your Facebook Page, Instagram, and Ads Manager ready for advertising. (Australian-specific notes are included, such as using AUD currency and local time zones.)
ALL ARTICLES